Save 25% use code LUCKY25
Products
About
Support
Blog
Actions
Textures
Bundles
Categories
Search for:
Blog Categories
All Posts
Annie's Photos
Announcements
Editing Tips and Tricks
Photo Techniques
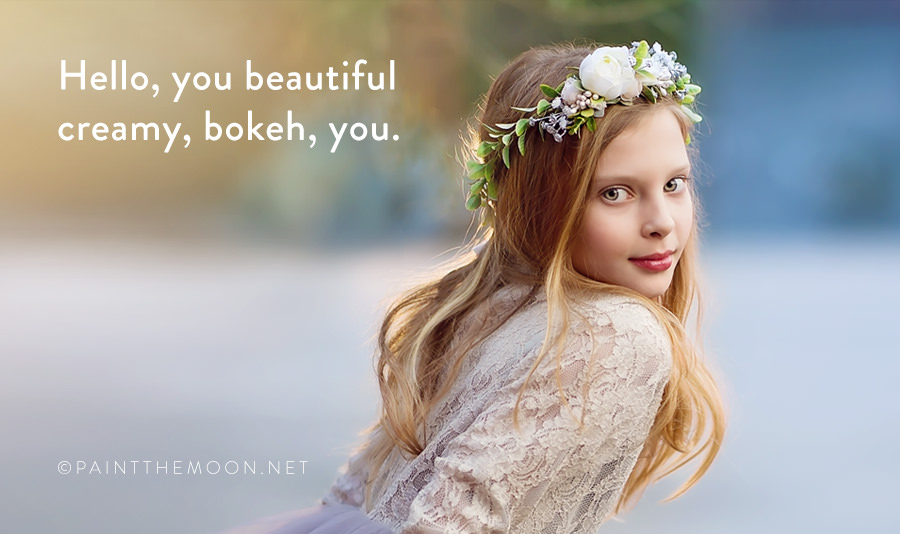
14 Tips To Get Better Bokeh | Photoshop Actions
View Post
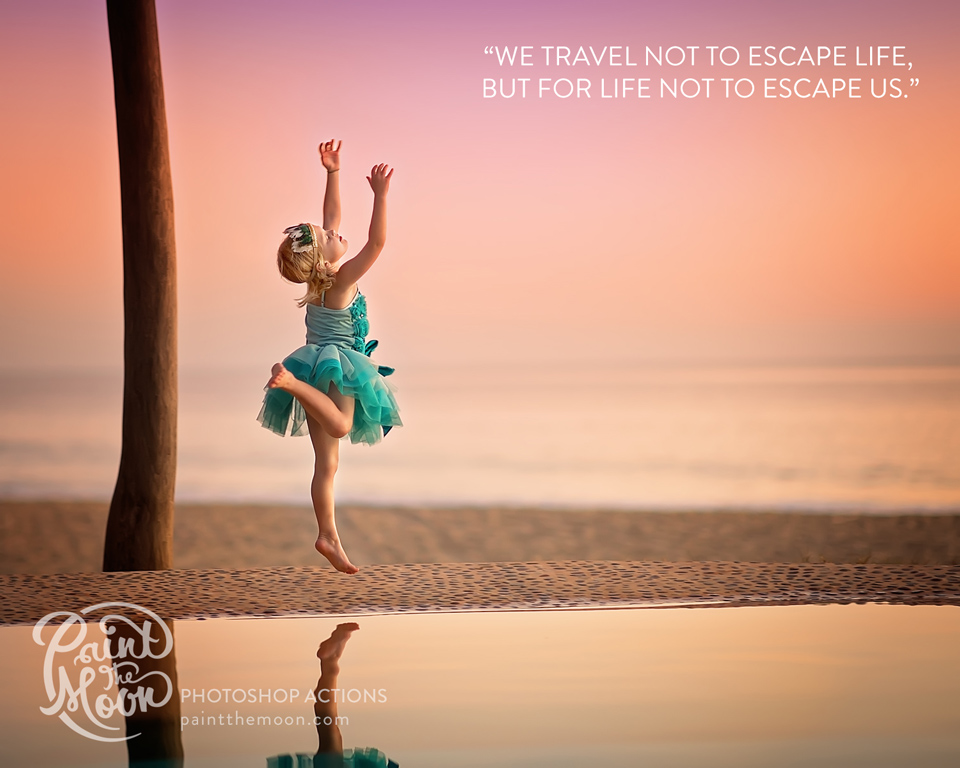
Beach Photography: Capturing Paradise
View Post
Pirate Birthday Party and Photo Session
View Post
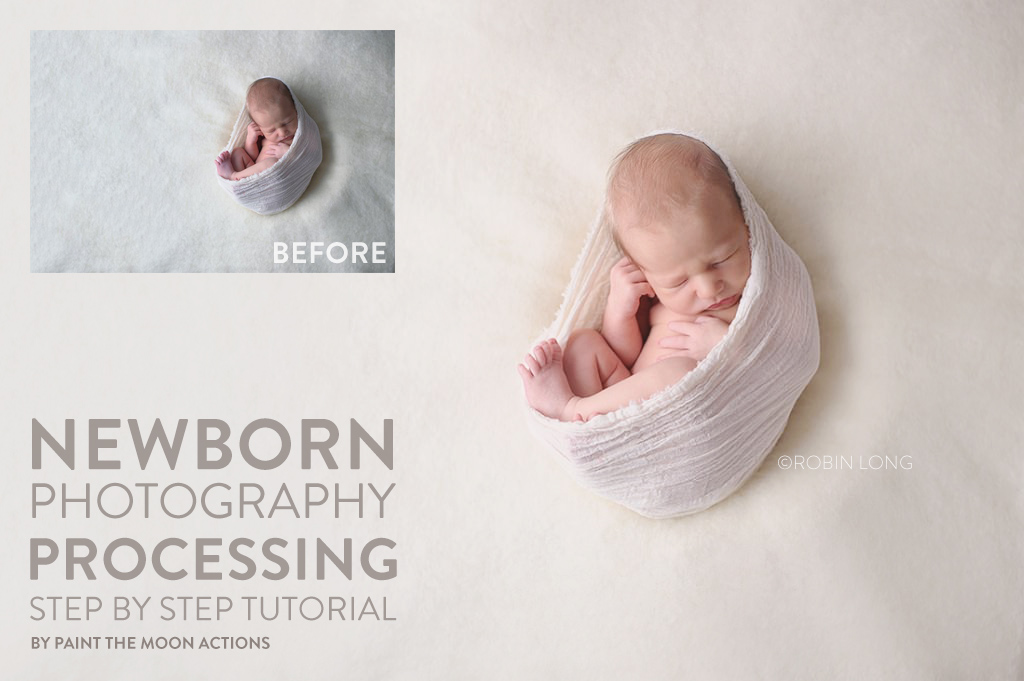
Newborn Photography Processing in Photoshop – Step by Step Tutorial
View Post
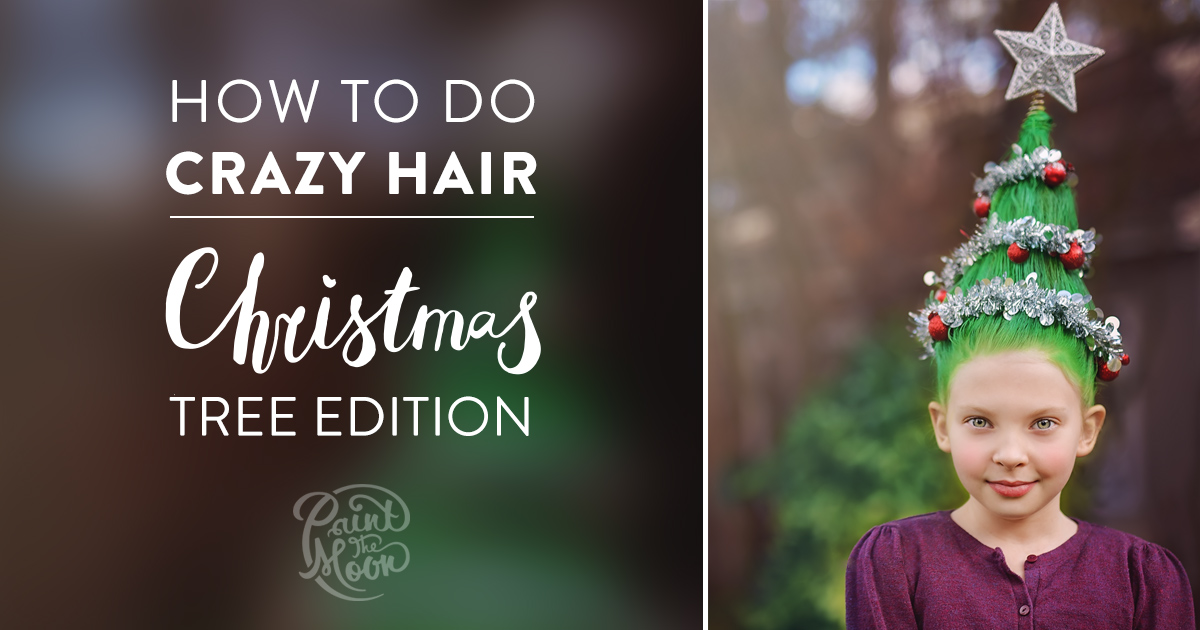
Crazy Hair Day, Christmas Tree Tutorial
View Post
Welcome to the New Paint the Moon
View Post
Photographing in Full Sun (Pt.1)
View Post
Photographing in Full Sun (Pt.2)
View Post
Fantastic Little Fox
View Post
A Little Sunshine
View Post
← Previous Page
Write a Review
We would love to hear how Paint the Moon has helped your photography
[gravityform id=3 title=false description=false ajax=true tabindex=49]
x