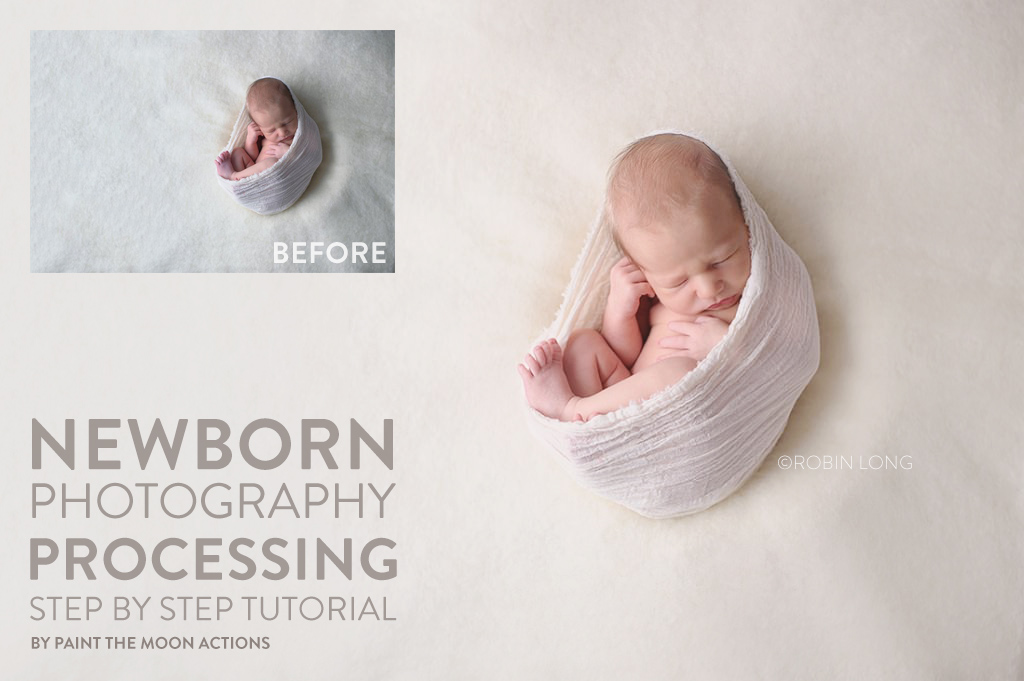
Newborn Photography Processing in Photoshop – Step by Step Tutorial
Editing newborn baby photos can be challenging. They are inherently perfect as is, and in my edits I strive to enhance the natural beauty, being careful to keep precious details. Sometimes though, once you open the images and zoom in to examine all those little details you’ll notice things that aren’t as apparent in real life … the red blotchy skin, purple/blue tiny feet, jaundice, flaky skin, etc.
The most important steps begin when you are shooting … getting your exposure right, good lighting and proper white balance. If you pay attention to these factors in camera, then the editing process will be even more quick and simple.
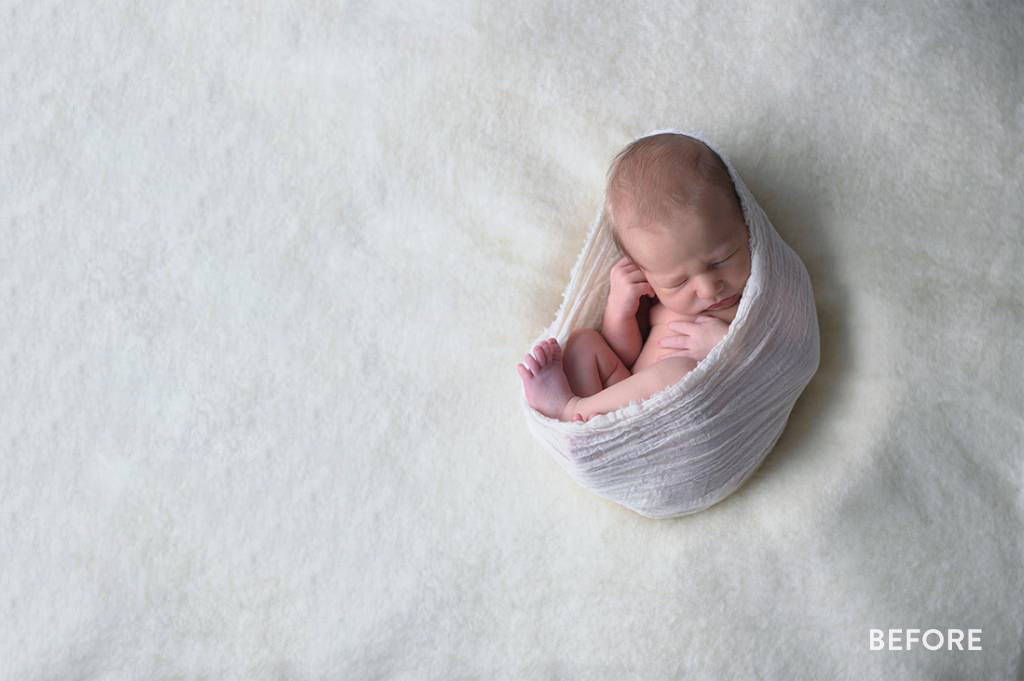
Here is our before image we’ll be working with. Thank you to Robin Long Photography for the use of her sweet newborn image. In post processing, I’m wanting to add some warmth, brighten things a bit, reduce the purple/blue in the teeny foot and add some softness. I use Photoshop actions from the Grace Collection for this edit.

Newborn Photography Processing in Photoshop
I usually start my editing process on a newborn with skin smoothing, although this image didn’t use any because baby was so wrapped up and the amount of skin showing in the frame (lots of negative space around baby) is minimal. When smoothing baby skin I use the Picture Perfect Photoshop Action set and the Creamy and Smooth Skin action. The Miracle Makeover set also has a wonderful skin smoothing action called Make My Skin Perfect.
For this edit I started with the Light and Airy base workflow action. This gives us a softer, airy edit as a foundation for our image. It’s perfect for baby and newborn photography because it keeps the contrast soft, has a special brightening layer that works perfectly to brighten only the areas that need it, and also includes a number of special layers for optional tweaks. The results from this one action alone are significant. I turned on the optional Matte and Haze layers and turned up Soft Warmth to 100%.
Using just the one Light & Airy base action:

The actions used for this quick edit were all from the Grace Collection.
1. Light and Airy Base Action
2. Apricot Warmth (warms up entire image with a peachy tone)
3. Lighten Midtones (brushed on the baby only)
4. Chameleon (brushed on tiny foot to reduce the purple/blue tint)
5. Whispers Softest (adds an over softness/blur to the image and smoothing blanket wrinkles)
6. Lastly, not shown in the layers palette below, I used the Background Color Palette (Soft Lightness) to further smooth the blanket. I used the Hazelnut Light layer, painted on the blanket and turned the opacity up to 100% to really give it a consistent look.

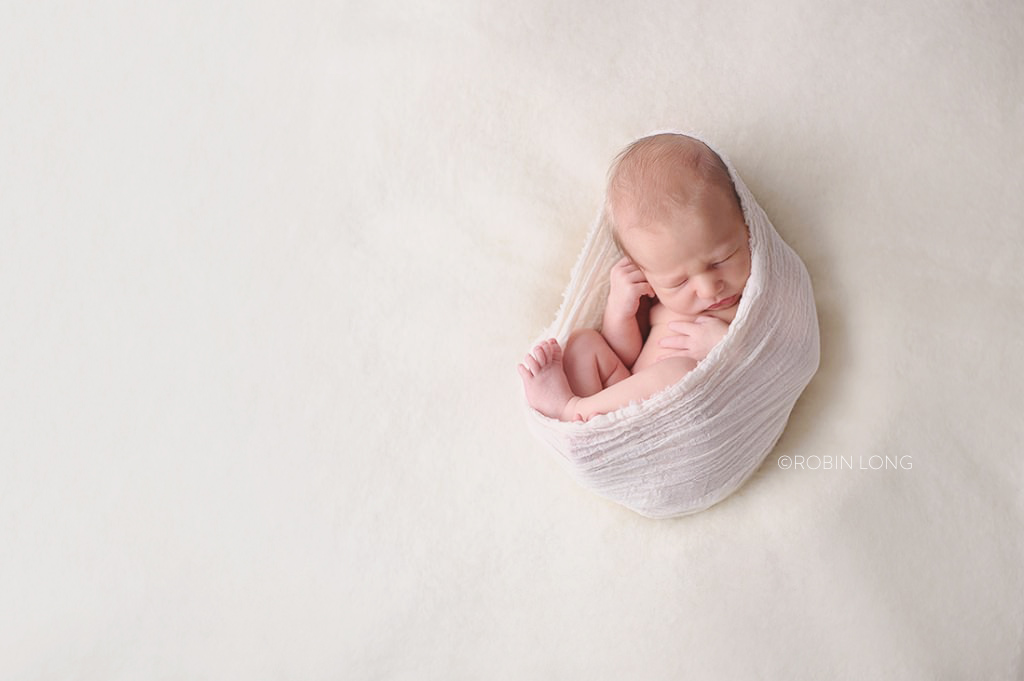
And our final after … just a 2-3 minute edit using the Grace Collection Photoshop Actions. 🙂


Olá boa noite sou nova no ramo da fotografia e gostaria de saber qual o valor para obter esse tipo de tratamento nas minha fotos? obrigada fico no aguardo.
Você pode comprar as ações Photoshop usado nesse processo de edição aqui: https://paintthemoon.net/products/grace/ . Obrigado! 🙂
I just love your actions.. I think I actually have all of them… I can’t wait to have some down time to go through all of them, because i reckon there is hidden gems that i haven’t found yet.. I only just found frosted haze and use it on babies all the time now!! amaze love it
Your site is awesome,
I just shot my first newborn this weekend.
Was looking for some unique ways to edit them.
Thanks
Your photos, editing, actions are amazing!
Thank so much! Very Helpful!!!