Photoshop Actions Step by Step Tutorial Recipe | Sun Flare and Backlight | Paint the Moon
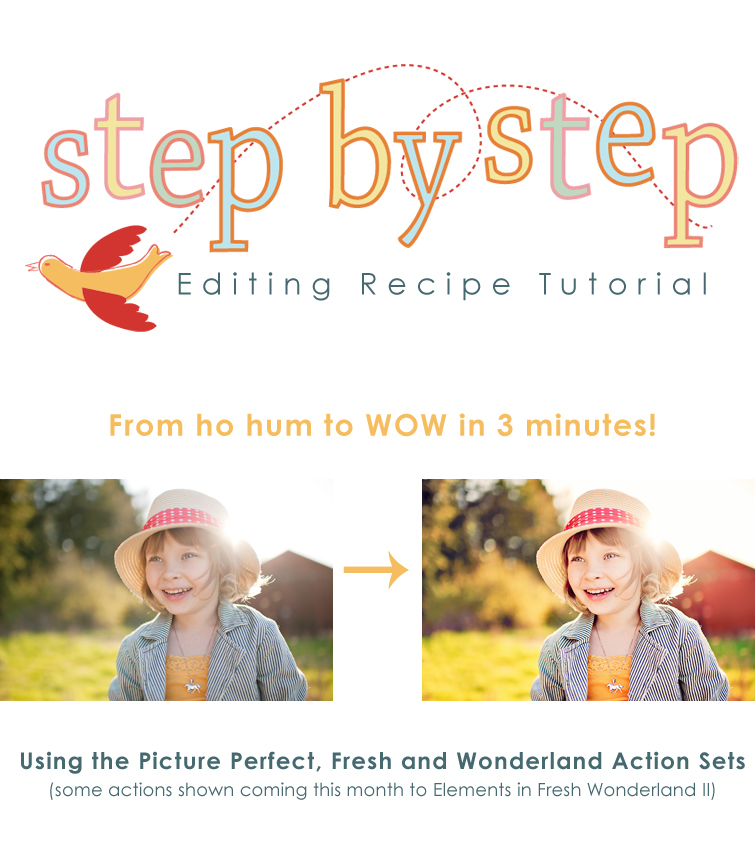
Today’s Step by Step uses the sets, Picture Perfect, Wonderland and Fresh (Available in Elements as Fresh Wonderland 2).
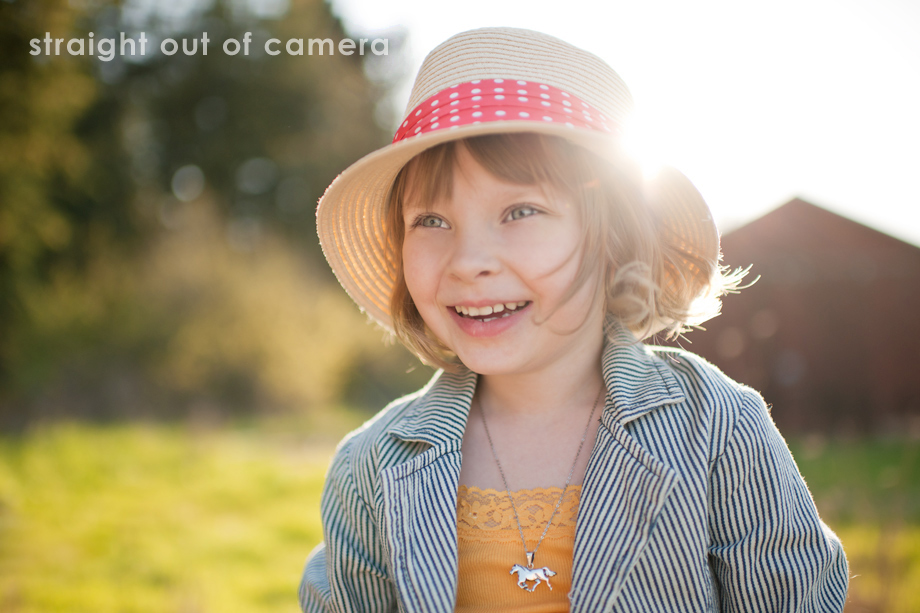
If you love sun flare, but have a hard time achieving it in camera be sure to keep an eye out for an upcoming post with tips on capturing gorgeous backlit images! I’m just still waiting for another sunny day here in Oregon so I can take some photos to use as examples … rain, rain go away! 🙂 I’ll have tips on correctly exposing and choosing your settings for backlit images, the best time and location/position to shoot for great flare and lots of other helpful tips to capture that glorious sun! For those interested, this image was taken with the Nikon D700 using a 35mm 1.4G lens, ISO 200, 1/2500 sec, f1.6 … it was about 7pm and the sun was going down fast (best time to take flare/backlit shots are either an hour before sunset or the hour after the sun rises because it’s low in the sky). 🙂
I start with the much loved Pop My Flare! action from Fresh (Pop My Flare! is in Fresh Wonderland 2 for PSE). This action gives you mega color and pop … a little goes a long way, so be sure to adjust opacity as needed. I leave it at 80% for this image, giving it a lot of drama with heavy contrast, color pop and brightening the midtones.
To give her skin a nice, warm glow that goes nicely with the golden sun and gets rid of the cool tones due to her face being shaded, I run Add Some Honey from Wonderland (Fresh Wonderland 2 for PSE ). I turn the opacity down to 45%.
To give the overall eye area just a touch of brightness I’ll paint over her eye area and forehead using Paint With Light from Picture Perfect (Selective Light for PSE). She’s got some great catch lights in her eyes despite having her face turned into shade – this is because the road in front of her was so bright and acted as a natural reflector.
I don’t want to edit her eyes directly because it would look unnatural for them to have a lot of light or pop in them, given we can see clearly she’s being shaded by the hat and has her back to the sun. So, just a light brush over the entire area to brighten her face up a tiny bit at 17% is all it needs.
To brighten up the shadows which have gotten a little muddy with the strong contrast added I run Brighten Shadows (light overall touch) at 35% from Picture Perfect.
Finally, I run Paint on Color Pops from Picture Perfect over everything but her skin at 30%. Because I don’t want my grass to look too neon, I run Banish the Yellow (See You Later Yellow in PSE) from Picture Perfect, painting over the subject with a black brush on the layer mask because I don’t want to reduce the yellow in her skin tones, just the landscape. I leave that at 25%. And that’s it!!

And for a little lighter, more whimsical look I run The Candy Shop from Blessings at 50% and turn on the Rose Water Haze and Honeymoon Haze layers.



Can’t wait to see the sun flare tutorial! These pictures are so awesome and the how-tos really help me 🙂
Oh I really like those edits. 🙂 The colors are great.
I agree on photo’s they are gorgeous and thanks for the tuts I enjoy learning from a true artist
Amazing tutorial, Annie! Thanks so much for sharing your tips/talent with us! =)
I really appreciate your step-by-step demos. Your tip about getting rid of the neon grass without losing the golden glow on her skin is exactly what I needed!
Thanks again for another great recipe. I am really enjoying the actions I purchased last month. I’m already wondering how I ever lived w/out the essentials and picture perfect sets!
Thanks so much for the lighting tips! They are wonderful reminders!
Visiting you from Sweet Shot Tuesday — hoping to win your $40 gift certificate to put towards the Dancing Light-Dreamy Colors textures. Love them.
Thank you for sponsoring the giveaway. 🙂
Visiting from 3 Boybarians Blog with my fingers crossed. I’d love to try out the Blessings or Moxie actions. They’re all so lovely. Thanks for the great tutorials.
Amazing color in the edited version. I love that look and would have so much fun trying them on my recent photos of my granddaughter.
If I won the giveaway at Sweet Shot Tuesday I’d love to have The Essentials.
I am so inspired by your work. I cannot wait until the Fresh Wonderland II action set is ready for Photoshop Elements. I’m the first in line and I actually have photos ready for processing. Keep it up! You’re great at what you do.