Step by Step Photoshop Action Recipe | Paint the Moon Processing

Everything used is from the new Picture Perfect Mega Portrait action set. Elements users, don’t fret! I’ll be doing another Step by Step using PSE compatible actions tomorrow!
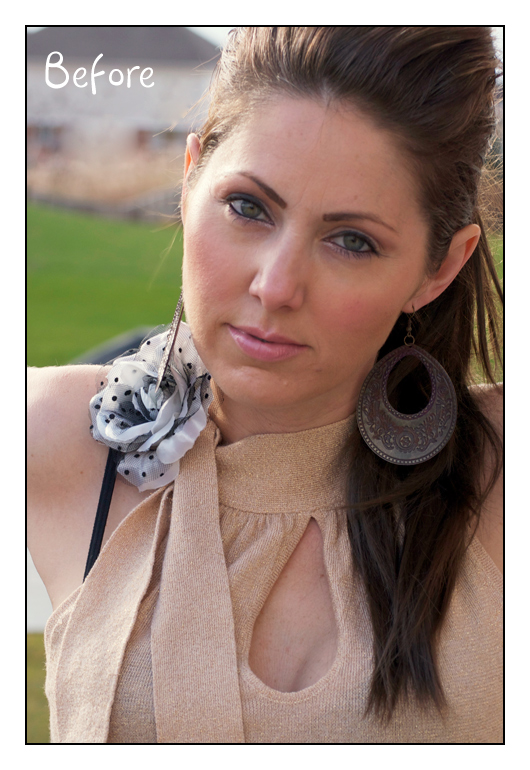
Creamy Skin Brightener – I ran this two times … run once, use Flatten Image action, then run again. In between each action I am usually Flattening the image to keep things clean. You can go to your History palette if you’d like to go backwards in your history … you’ll find the “Before __________” snapshots that my actions create for you.
Reduce the Cyan Subtle – 90%
Instant Reflector – 35%
Minute Makeover – (leave opacity levels where they are and paint on the following layers where needed):
Eye and Detail Sharpen – painted over iris and lashline
Eye Color Pop and Brighten – painted over iris only
Turn on Make It Lighter – 15%
Pure Color Snap – 55%
Selective Focus (Faux Shallow DOF Blur) – painted on background
Velvet Retro – 45% – turned on Richer Contrast Layer
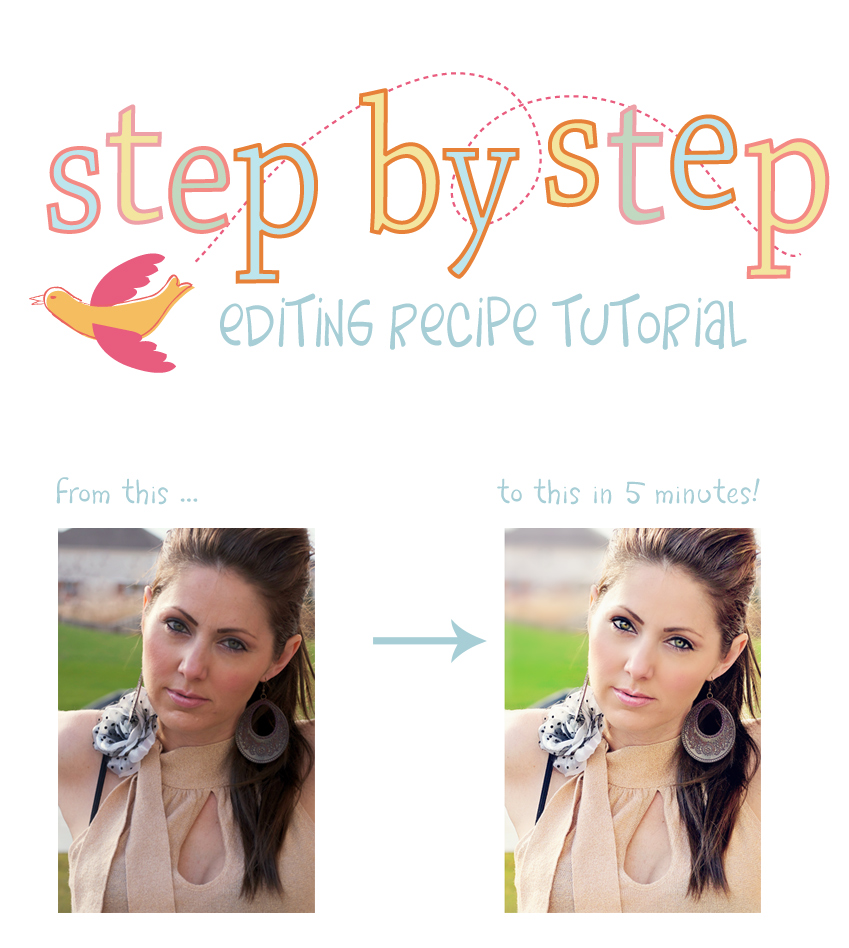
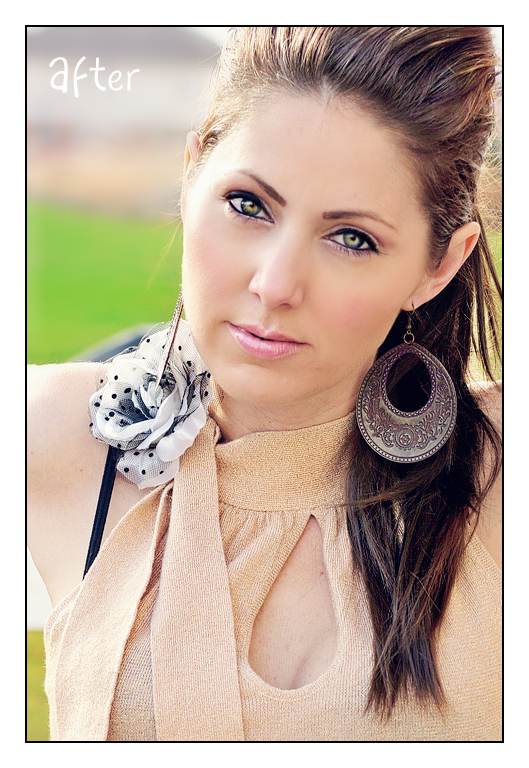
That’s it! It took me about 5 minutes from start to finish … once you learn your favorites and preferred actions for your workflow, you’ll be editing super quickly too!


And one alternate edit with a bit of Sweet Prairie added at 55% …

Tags: eyes, paint the moon actions, Photoshop Actions for Photographers, photoshop tips, photoshop tutorials, retouching

WOWZERS!! Hoping I get a gift certificate for Christmas, but if not, I’ll be buying my own gift in the form of the Picture Perfect mega set!
WOW! LOVE IT. Now this action set is in my wish list for sure.
Fantastic. I can’t wait to get all these actions in February. Waiting on a new computer and a bub………
This is the very thing I’m talking about – sweet photos made sooo much sweeter by your wonderful actions! Amazing! Amazing! Amazing!
beautiful results!