Photoshop Actions Step by Step How To Recipe | Sun Flare and Backlight | Paint the Moon
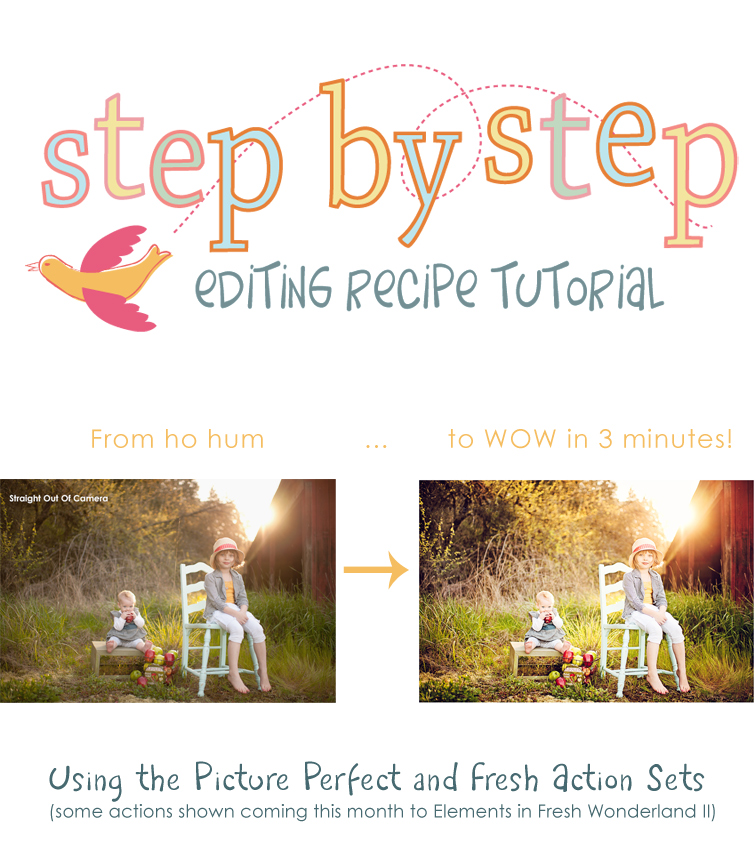
Today’s Step by Step uses the sets, Picture Perfectand Fresh (coming to PSE as Fresh Wonderland II this month). This particular processing session took me about 4 minutes to complete (including a quick cloning job to remove the stray piece of grass). Once you have gotten to know your actions and find what works best for you and which are your favorites, it’s easy to speed through edits in no time at all.
If you love sun flare, but have a hard time achieving it in camera be sure to keep an eye out for an upcoming post with tips on capturing gorgeous backlit images! I’m just waiting for another sunny day here in Oregon so I can take some photos to use as examples … rain, rain go away! 🙂
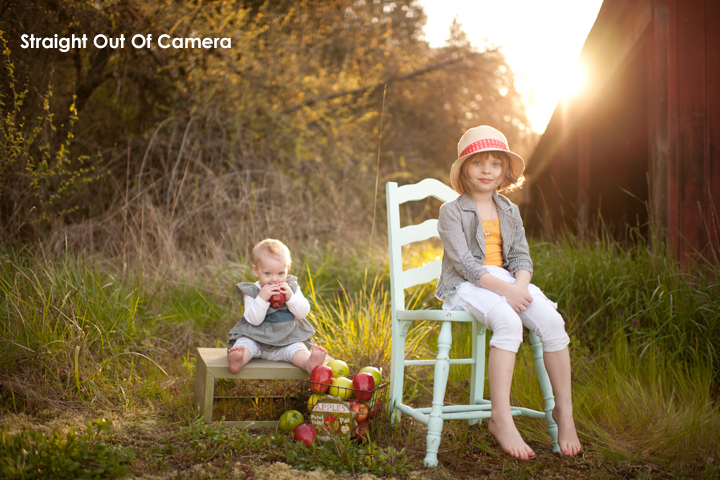
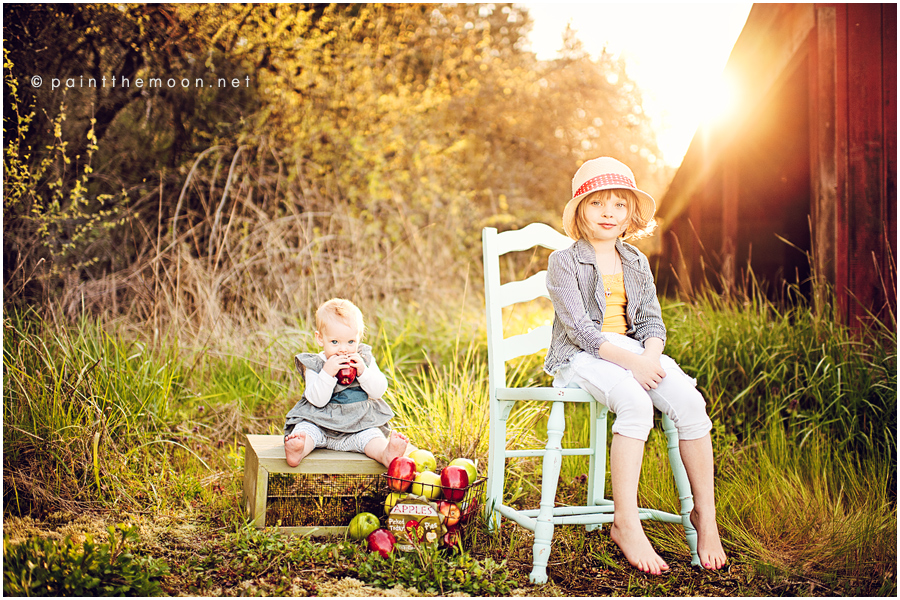
I start with the fabulous Pop My Flare! action from Fresh (will be in Fresh Wonderland II for PSE later this month). This action gives you mega color and pop … a little goes a long way, so be sure to adjust opacity as needed. For this image I want that extreme color and contrast, but I don’t need the added warmth, so I turn off the Sunny Tones and More Warmth layers. I also turn up the Make It Lighter layer to 45% to brighten the midtones, most especially in my girls’ faces.
Next I run the Let’s Be Clear action from Picture Perfect to bring out edge details. The opacity is turned up to 35%. To brighten up the shadows which have gotten a little muddy with the contrast added I run Instant Reflector at 30% from Picture Perfect.
To add a little more color toning and style I run Moonbeams from Picture Perfect at 35%. I then quickly use the cloning stamp to get rid of the distracting stray piece of grass and tree limb. That’s it!! We’re done … check out the before and after!
And for a little different vintage twist, I run Vintage Fairytale from Blessings and turn up the Antique layer to 38% to desaturate the color some. I also turn on the Make It Darker layer and brush with black over everything but the girls so that their features aren’t washed out. A very different feel that took just second more to create!
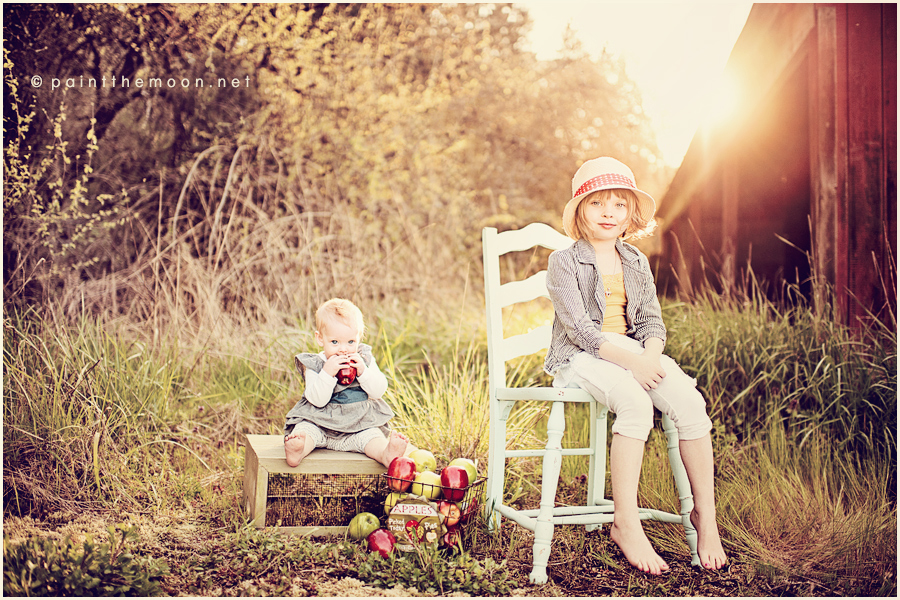
Added tip … if your subject’s faces are still too dark in your backlit images try using an action like Illumination (Selective Light/Dark) from Moxie to brush on lightness just over the face. If it leaves the features too washed out, simply use a contrast boosting action from Picture Perfect to brush back contrast and detail.
Tags: Photoshop Actions for Photographers, photoshop tips, photoshop tutorial, retouching, step by step, sun flare
WOW – fabulous photo! Can’t wait for the Fresh Wonderland II set to come out. Thanks for the step by step!
Annie, thank you so much for your tutorial, it is so helpful 🙂 can’t wait til the Fresh Wonderland II for PSE comes out 🙂 YAY
Thank you so much for all your great tips! Darling girls!
you…. are brilliant ! I can;t wait for my birthday so i can have more of your amazing Action sets !!!!!
Oh Annie that’s amazing! The light and girls look wonderful! You are so lucky 🙂
That’s so funny that we have children the same age 🙂 I think of you very often.
Your session reminds this one 😉
http://i640.photobucket.com/albums/uu123/Agna81/wlesie.jpg